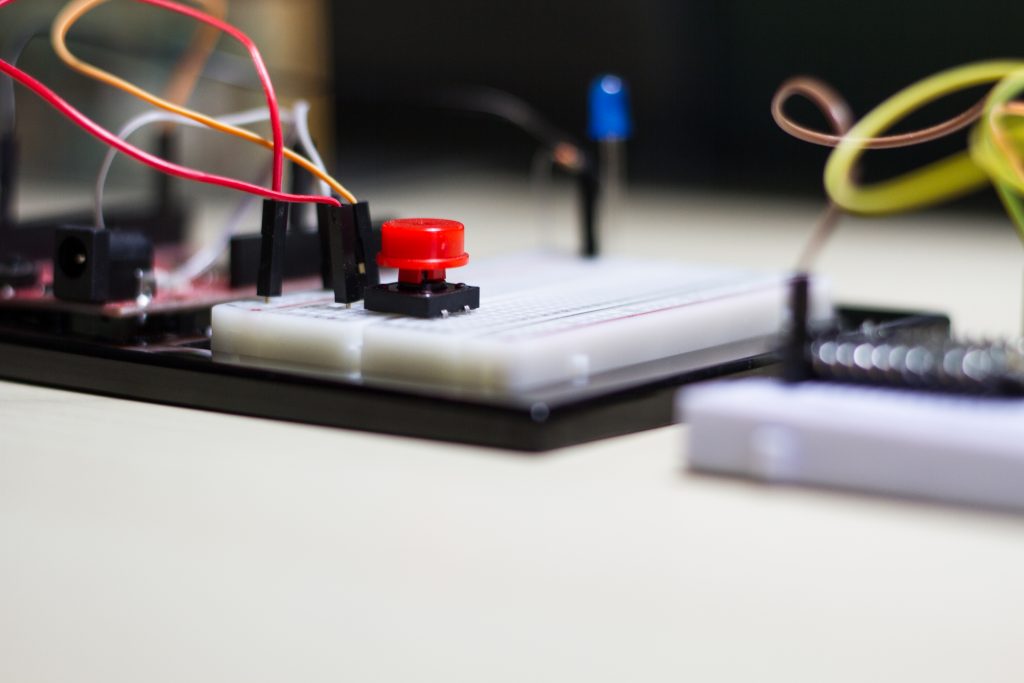
Ever thought of getting into the Internet of Things to create your own assistive technology solutions? Here’s a prototype that you can build on your own to create “smart buttons” that can be used by elderly people, people who are bed ridden because of injuries or ailments, or basically anyone who requires assistance from another person.
Here, we are creating two buttons that will call separate IFTTT recipes. (Read IFTTT tutorial here)
First button will call a recipe that will send an email to a caregiver indicating that the person who pressed the button needs assistance to go to the bathroom.
Second button will call a recipe that will send an email to a caregiver indicating that the person who pressed the button is hungry and needs food.
Both these buttons will call another IFTTT recipe that will insert a row in a Google Spreadsheet with all the details – what service was requested and when. This can be beneficial if you, as a caregiver or family member want to keep track of how often the person requests assistance. This information can also be shared with a medical doctor so trends could be spotted over a period of several days, weeks or months – are the number of requests unusually high or low indicating a bigger issue that needs to be dealt with?
What you will need:
Particle Photon or similar prototyping chip that connects to Wi-Fi/3G. Here I used Particle Photon for one button, and Sparkfun Photon RedBoard for the other.
Breadboard
Jumper Wires
Push Button
330 ohm resistor
LED (Optional)
You can get the items listed above separately or as a part of the Sparkfun Inventor’s Kit.
Hardware Hookup
The button needs to be hooked up to the Photon/ RedBoard so that it could connect to the Internet to call IFTTT recipes. The LED, although not necessary, is just to show that the button was pressed (lights up when button is pressed).
I won’t go into all the details here, but the following diagram shows the easy connections we need to make in order to get the button and LED to work. For detailed instructions, read this link.
Note: You will have to power your board by connecting it to a USB port of a computer or to a wall outlet.
Code
Once you have your connections ready, it is time to write some very simple code in the Particle IDE. The most important line in this code is the one highlighted in orange. This is the line that connects the button to IFTTT. In our IFTTT recipe, we will use the Event Name (yellowpushButtonState) and Event Contents (Pressed) to perform our actions. (send email; add row to Google Spreadsheet)
/* SparkFun Inventor’s Kit for Photon
Experiment 2 – Part 2: Control the Internet with IFTTT and Push Button
This sketch was written by SparkFun Electronics
August 31, 2015
https://github.com/sparkfun
This is a simple example sketch that sends an email
with IFTTT when the push button is pressed
Development environment specifics:
Particle Build environment (https://www.particle.io/build)
Particle Photon RedBoard
Released under the MIT License(http://opensource.org/licenses/MIT)
*/
int led = D0; // LED is connected to D0
int pushButton = D2; // Push button is connected to D2
// This routine runs only once upon reset
void setup()
{
pinMode(led, OUTPUT); // Initialize D0 pin as output
pinMode(pushButton, INPUT_PULLUP);
// Initialize D2 pin as input with an internal pull-up resistor
}
// This routine loops forever
void loop()
{
int pushButtonState;
pushButtonState = digitalRead(pushButton);
if(pushButtonState == LOW){ //If we push down on the push button
digitalWrite(led, HIGH); // Turn ON the LED
Spark.publish(“yellowpushButtonState”,”Pressed”,60,PRIVATE);
// Add a delay to prevent getting tons of emails from IFTTT
delay(5000);
}
else
{
digitalWrite(led, LOW); // Turn OFF the LED
}
}
Once you have written your code, the final step is to compile and flash your Photon to move the code on to the hardware.
Note: Here is the “Getting Started” guide if you want to learn more about Particle Photon.
IFTTT Recipes
Now that our Photon has the code, it’s time to create our IFTTT recipes!
Follow the steps below to create the first recipe that will send out an email when the button is pressed.
Note: Apologies for the coughing in the background in the video below! I was recording these videos at the library, and there was a man right behind me coughing his lungs out!
Once that’s done, create the second recipe that will insert a row in a Google Spreadsheet. I already have that spreadsheet created in a folder called “IFTTT” in my Google Drive, and it is titled “Requests”.
That’s it! We are ready to test our button now! When you press the “smart button”, it should send an email and also insert a row in your Google Spreadsheet. See how it works in the video below.
I hope this gets you started on building your own assistive technology solutions using smart devices and IFTTT. If you have any questions, please post them in the comments below.

